PrestaShop: Installation Guide For Checkout Page
PrestaShop: Installation Guide For Checkout Page
The installation guide shows the step-by-step installation of the plugin to the installed shop system on a web server. Test the online shop and the plugin’s configuration on a test system before installing the plugin on a production system.
Step 1
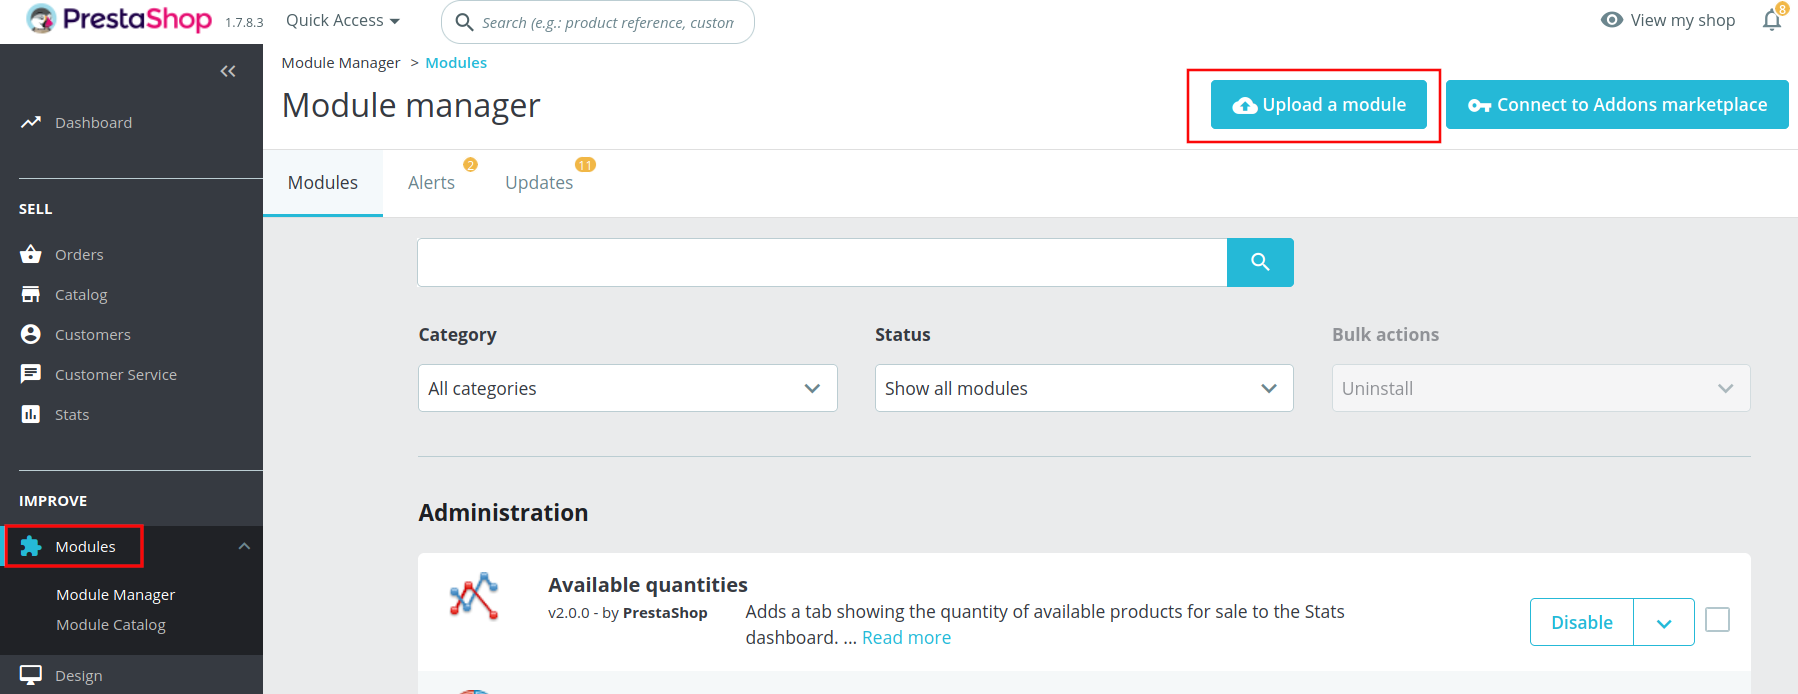
Upload the link:https://github.com/hobex Service IT-cee/prestashop-qcp/releases[zip package,window=\"_blank\"] to PrestaShop (Modules > Module Manager > Upload a module), and the module will be installed.
| To receive a notification when a new version is published, subscribe here and select Releases only. |
Step 2
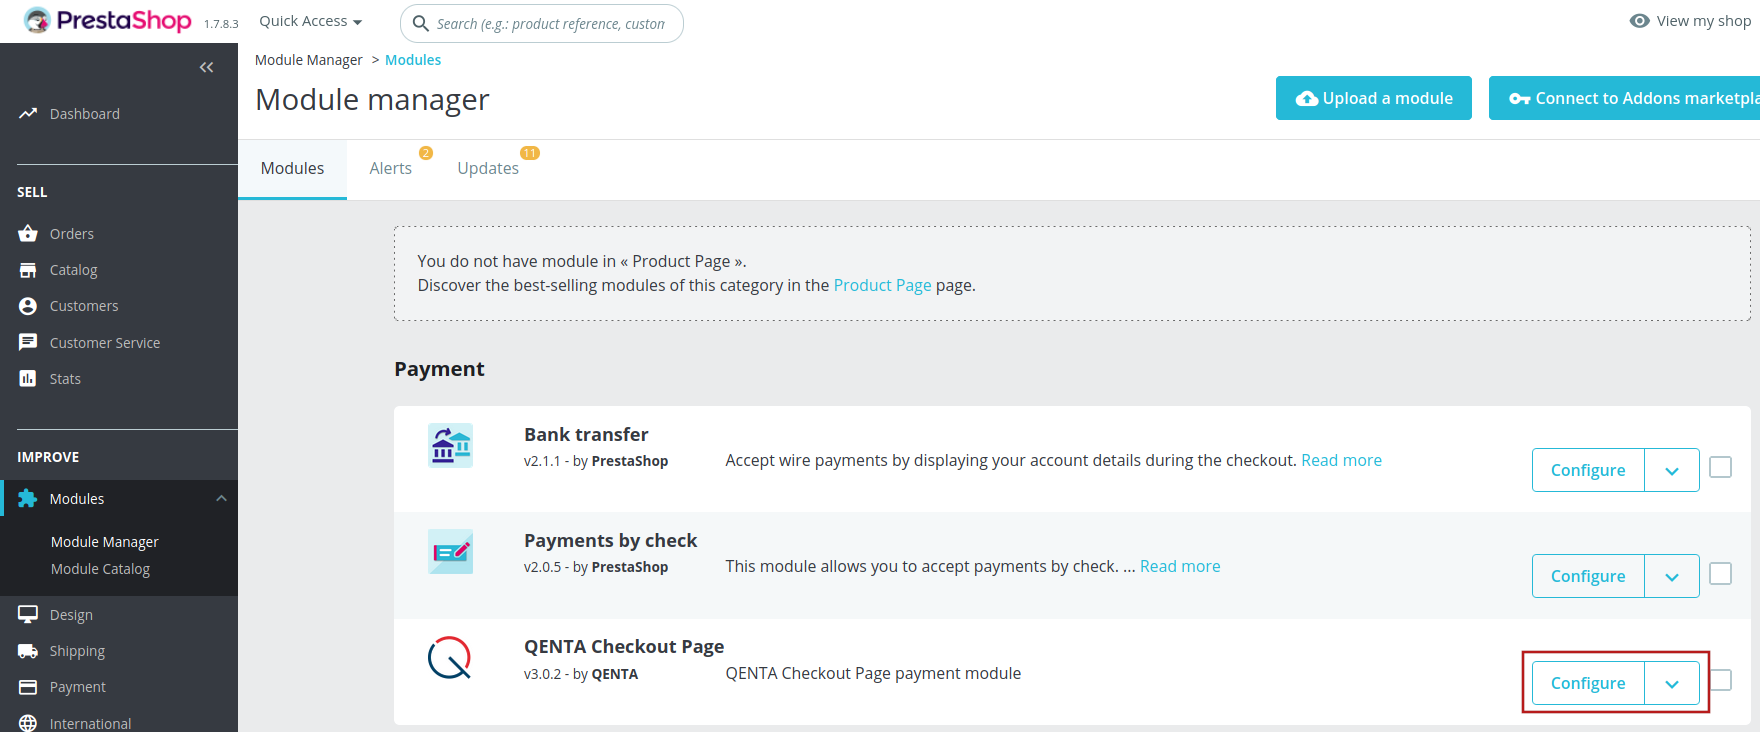
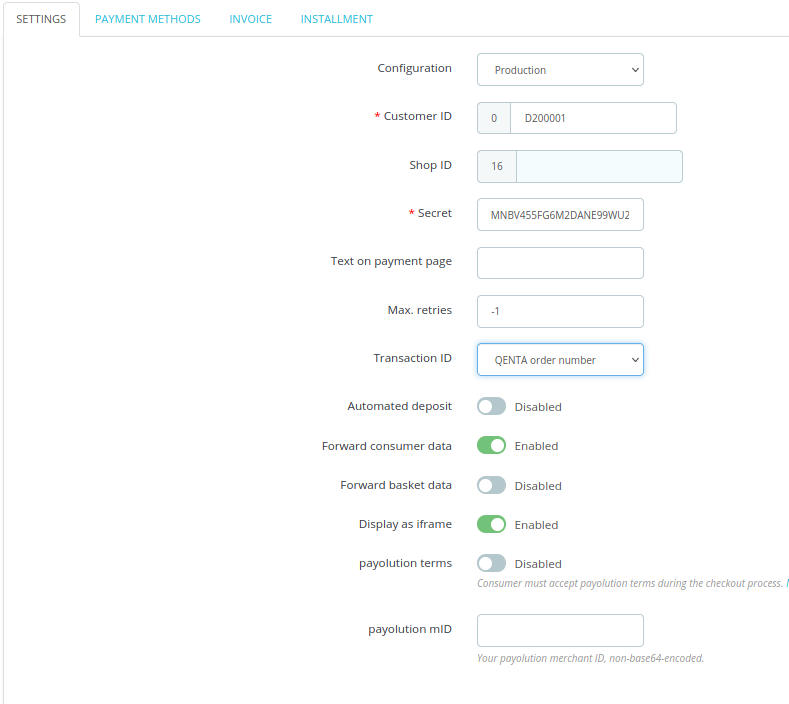
Configure the plugin right after installation or go to Modules > Module Manager > hobex Service IT Checkout Page > Configure and change the settings according to the requirements.
Step 3
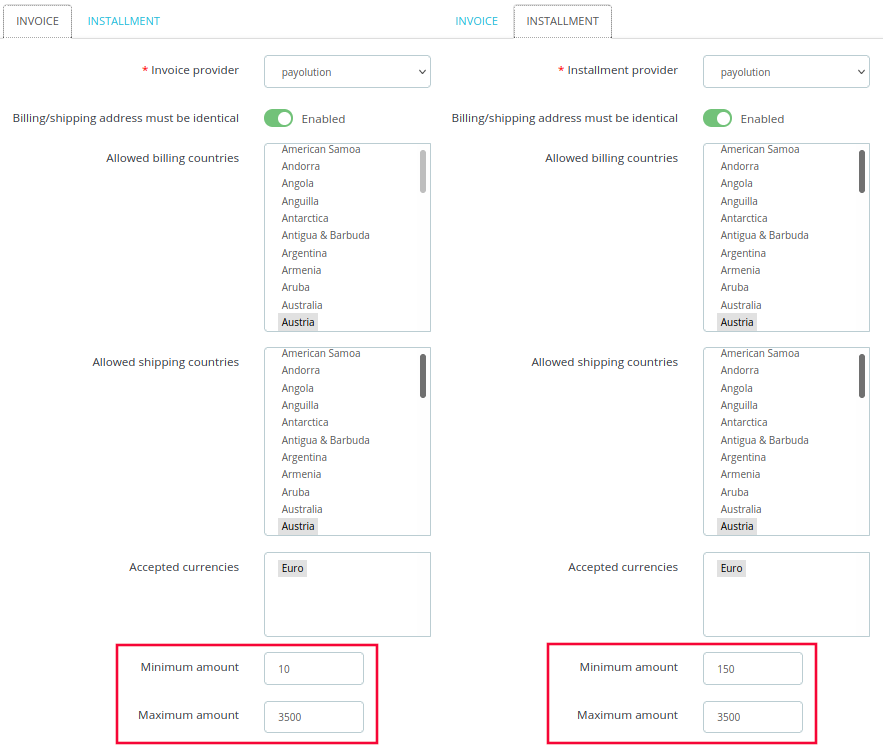
If the minimum and maximum amounts for invoice and installment are set, then these payment methods will only be shown if the order is between these limits.
Using a new currency
To use a new currency perform two steps:
-
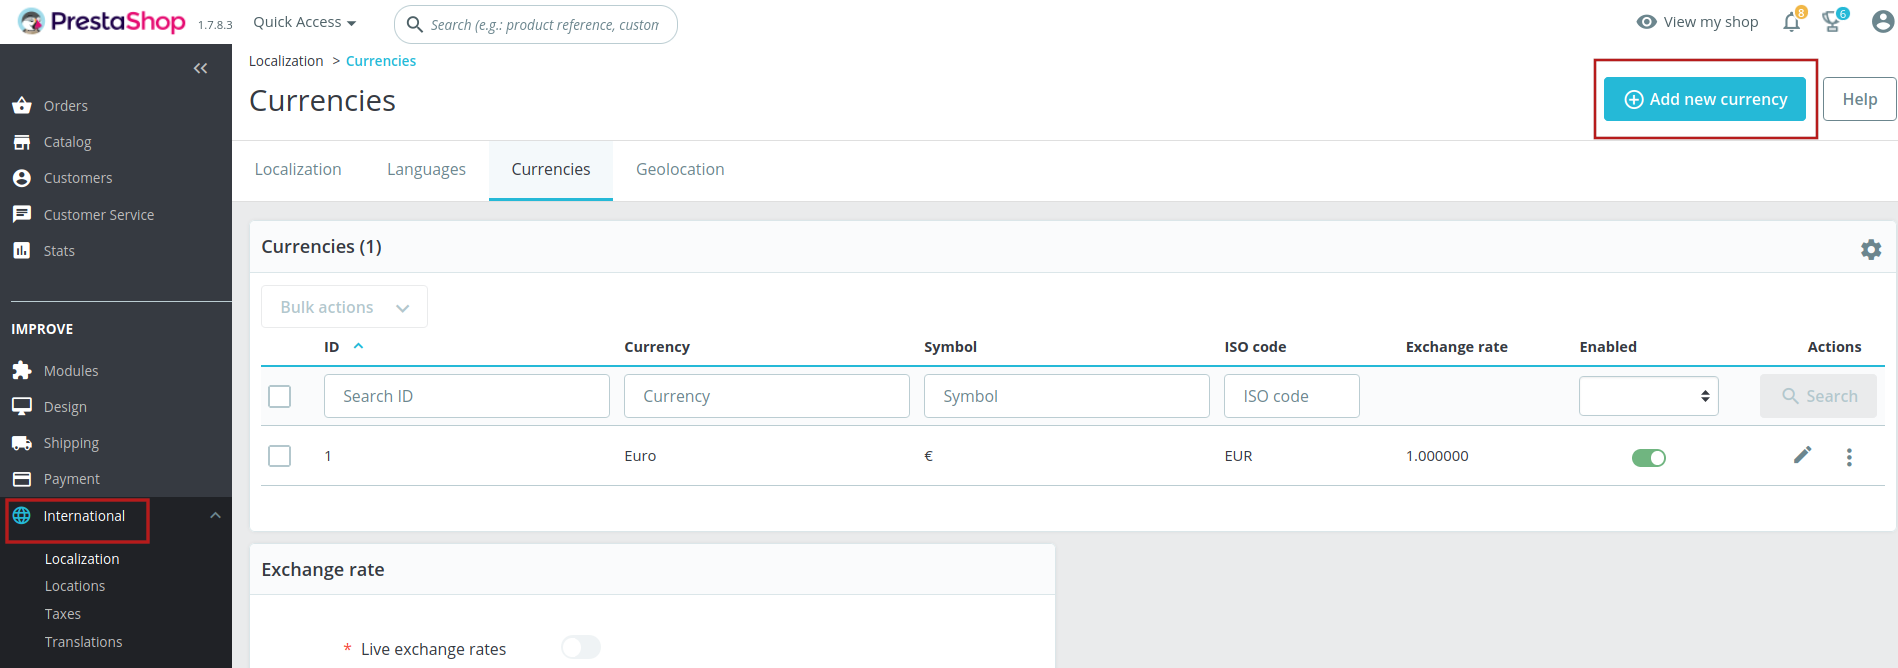
Define currency: On the PrestaShop admin site, go to International > Localization > Currencies.
-
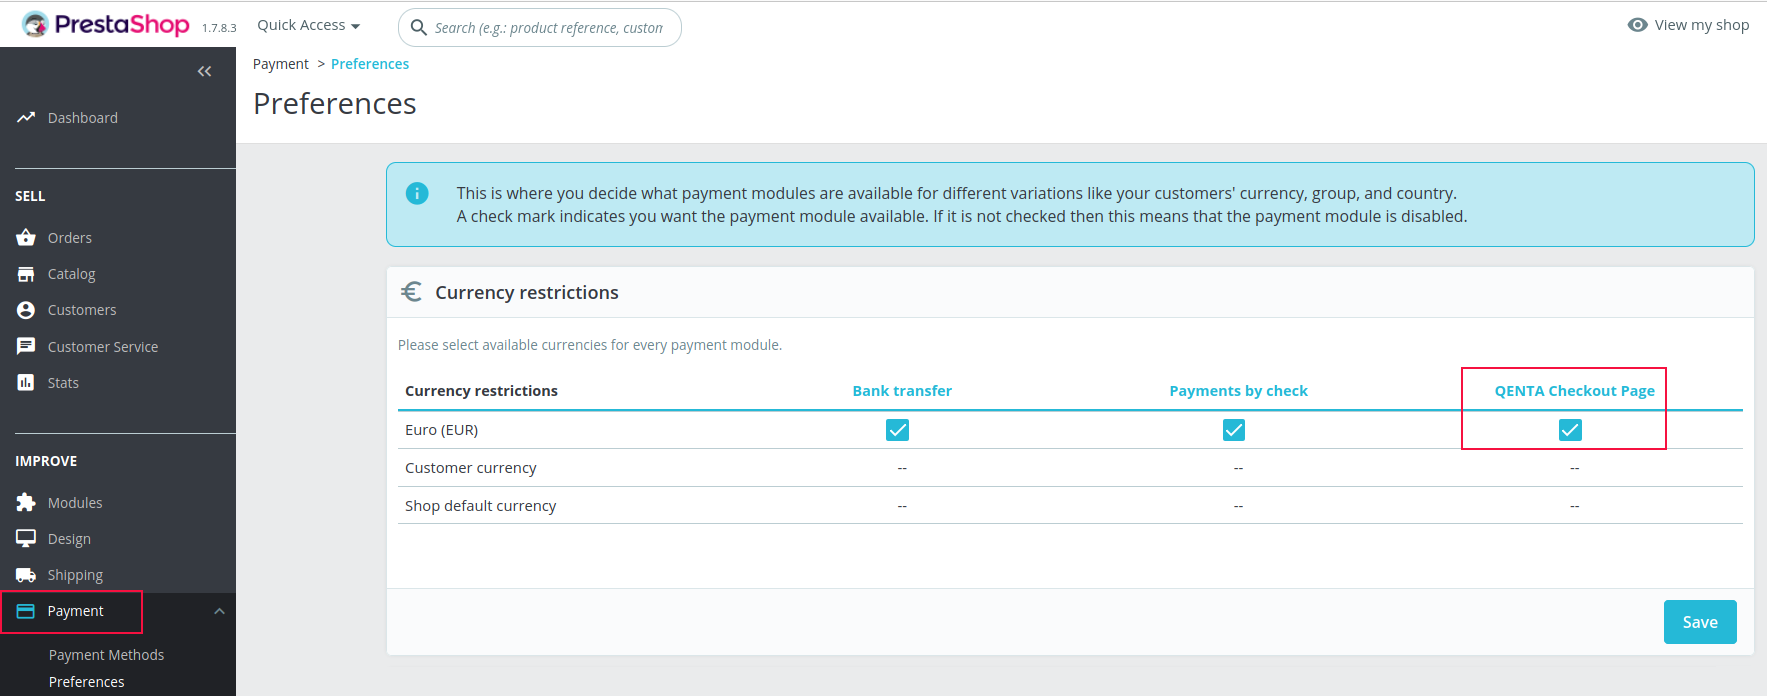
Activate currency: On the PrestaShop admin site, go to Modules > Payment > Preferences > Currency Restrictions.
Enable the checkbox for hobex Service IT Checkout Page.
| For debugging purposes search the log files on the PrestaShop admin site > Advanced Parameters > Logs. |