Oxid 4: Installation Guide for Checkout Page
Oxid 4: Installation Guide for Checkout Page
The installation guide shows the step-by-step installation of the plugin to the installed shop system on a web server. Test the online shop and the plugin’s configuration on a test system before installing the plugin on a production system.
Step 1
Upload the zip file containing the Checkout Page plugin to the document root of the OXID Shop installation and unzip the file. The zip archive already contains the directory path allowing the plugin to be stored automatically in the right folder.
To first unzip the file on a computer and then upload the plugin, maintain the directory structure which already exists in the zip file.
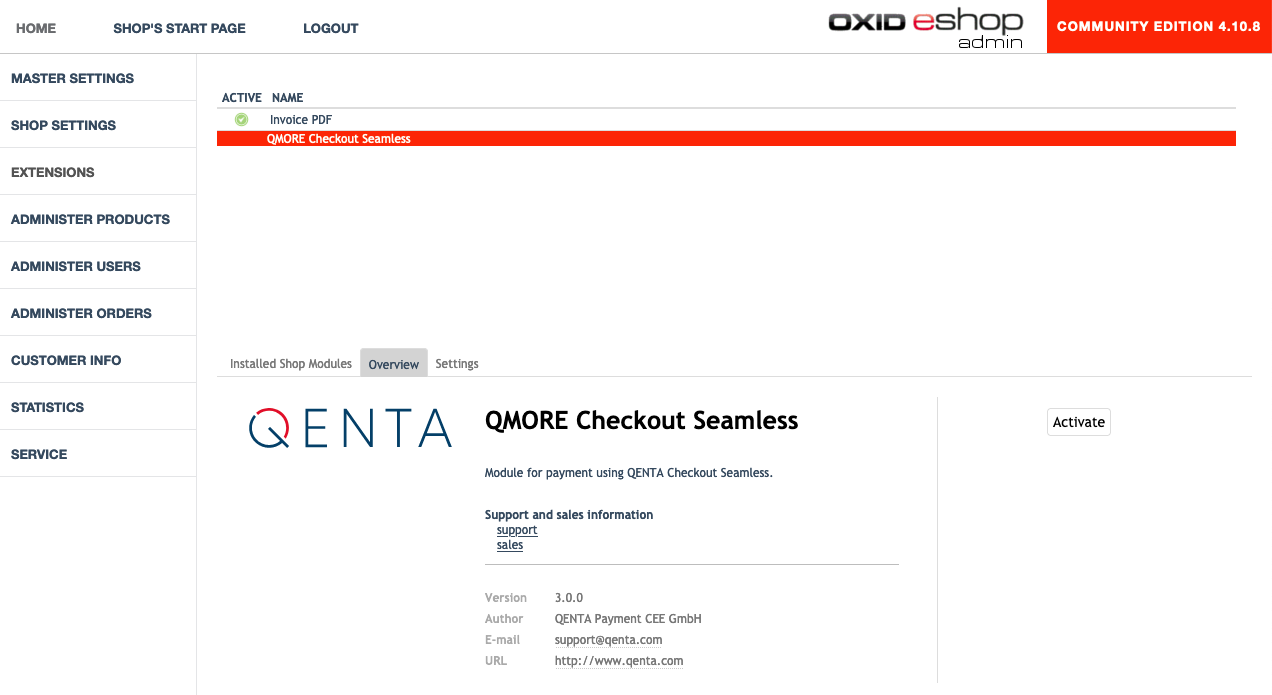
To enable the module, navigate to Extensions > Modules, select Checkout Page and click on Activate.
| To receive a notification when a new version is published, subscribe here and select Releases only. |
Step 2
For a basic configuration enter customer ID, shop ID, and secret and set the URL to imprint page. Go over the settings and configure the plugin according to the requirements. Refer to the section advanced configuration for a more detailed description of the configuration possibilities.

Step 3
To enable the payment methods navigate to Shop Settings > Payment Methods.
To activate payment methods so they are available to the consumers, click on the payment method, select Active and then Save button.
Maestro SecureCode |
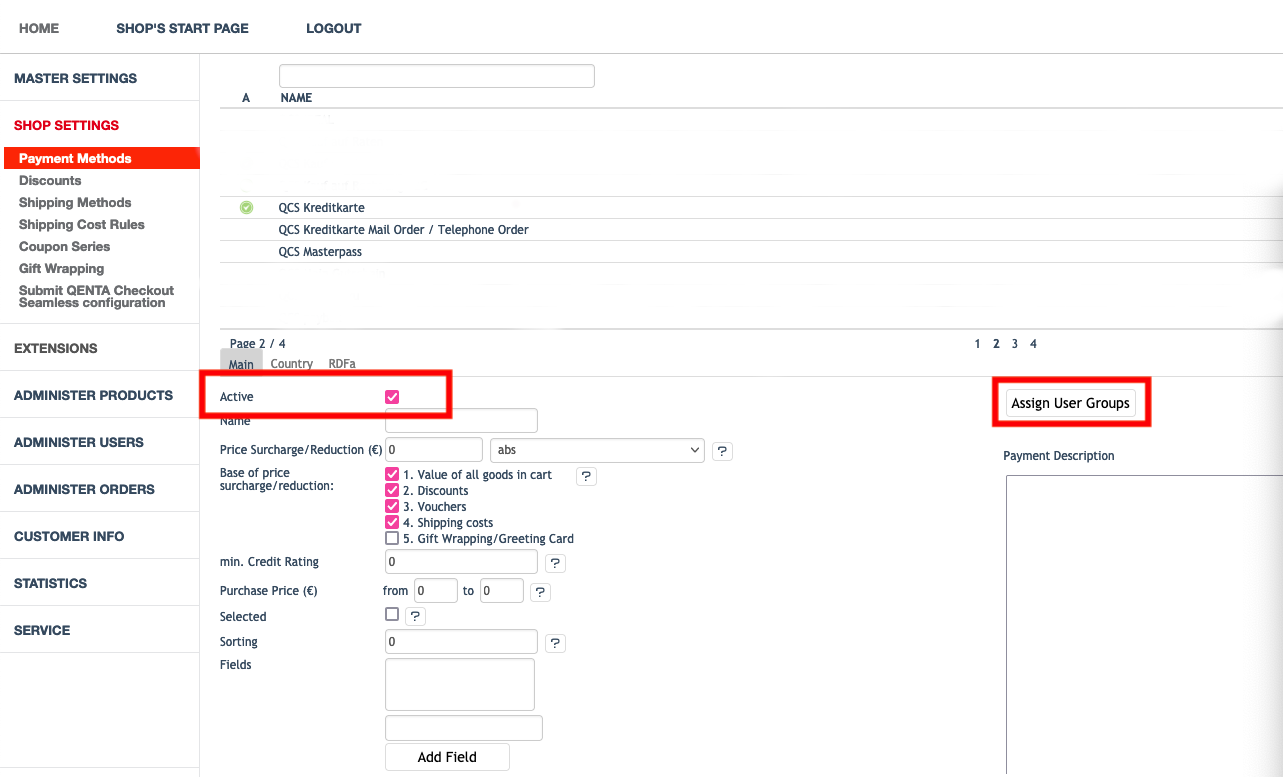
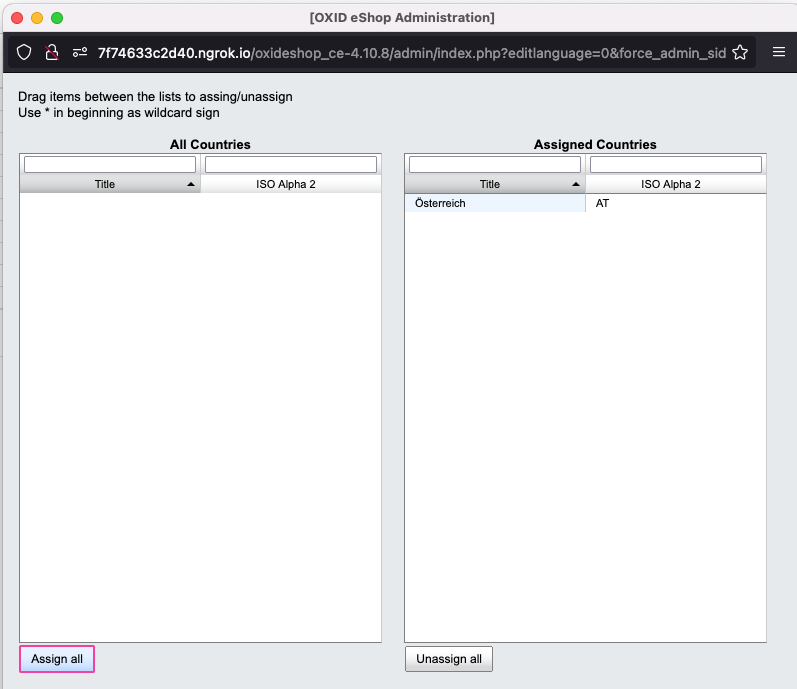
Select Assign User Groups in the Main tab and Assign Countries in the Country tab that allow specific payment methods for specific user groups and countries.
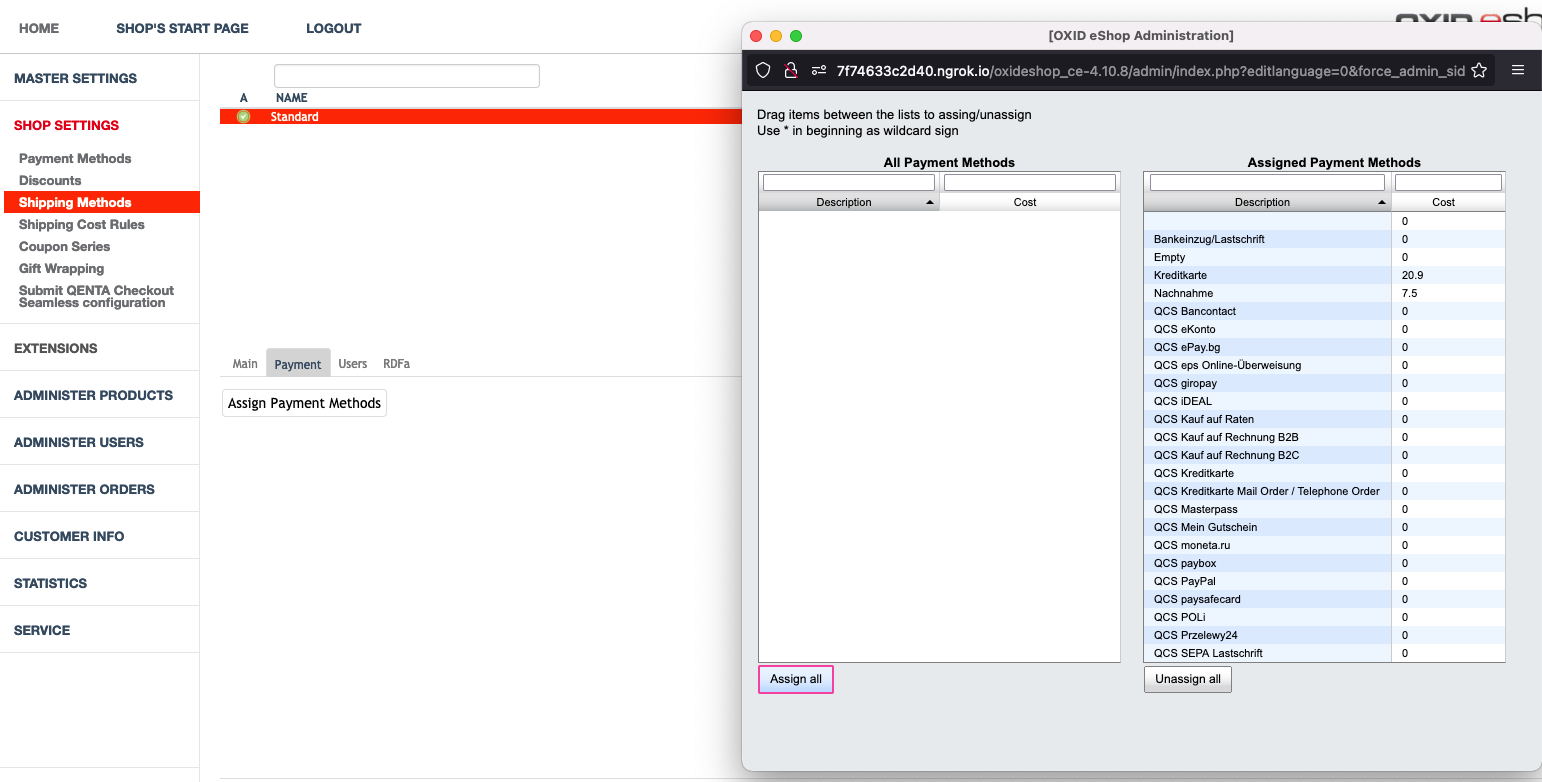
Additionally, the payment methods need to be assigned to shipping methods at Shop Settings > Shipping Methods. Select each shipping method, switch to the tab Payment, click Assign Payment Methods and assign those that will be available when the consumer selects the respective shipping method.
Advanced Configuration
As described in Step 2 the plugin allows for some additional customization.
Plugin Modes
-
Demo: Demo mode configuration. No communication with the financial service provider but only between the online shop and the hobex Checkout Server.
-
Test: During test mode, there is communication between the online shop and a test bank or demo bank provided for this purpose by the relevant financial service provider. However, the payment process is only simulated and no money is transferred.
-
Production: Make sure all of the tests were properly executed before switching to Production mode.
Additional Settings
-
Automated deposit: To prevent the expiration of uncaptured payments may select this feature which enables an automated deposit and day-end closing of payments. Contact our sales teams to enable it, otherwise, an error message will be shown.
-
Payment method sort order: The payments can be sorted in the order of the "Payment method sort order" and the payment with the smallest number entered in this field will be displayed first. Sort the payment methods according to which ones are mostly used by consumers.
-
Folder for orders: For each state of the payment a folder can be selected, for an order that should be stored.
-
Iframe settings: It’s possible to differentiate how Checkout Page is displayed in the online shop. Per default, Checkout Page will be displayed in an iframe within the online shop. Disable the use of an iframe for each payment method. When disabled, the consumer will be redirected to Checkout Page and the online shop will momentarily not be visible. For more information refer to Integration Possibilities for Desktop Devices.
| OXID eShop Enterprise and Professional editions run only properly within Zend Guard Loader (former Zend Optimizer) but is not needed for the Community edition. |