VirtueMart 3: Installation Guide for Checkout Page
VirtueMart 3: Installation Guide for Checkout Page
The installation guide shows the step-by-step installation of the plugin to the installed shop system on a web server. Test the online shop and the plugin’s configuration on a test system before installing the plugin on a production system.
Step 1
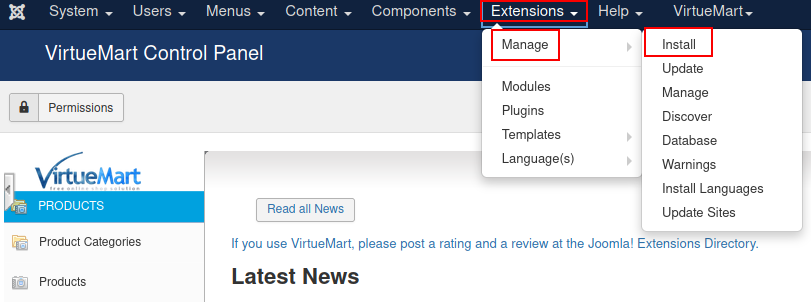
Select in the menu Extensions > Manage > Install.
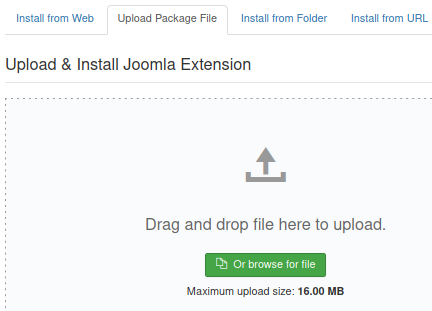
Upload the zip file containing the Checkout Page plugin, using Joomla! extension manager, or install it from the local file system of the web server.
| To receive a notification when a new version is published, subscribe here and select Releases only. |
Step 2
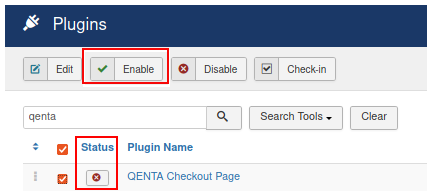
Activate the plugin, then select Extensions > Plugins, search for the plugin and click on the status image and enable it.
Step 3
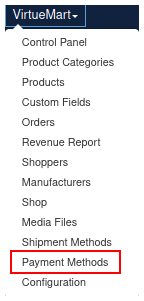
Add the new payment method to VirtueMart. Select in the menu VirtueMart > Payment Methods and click on hobex Service IT Checkout Page.
Step 4
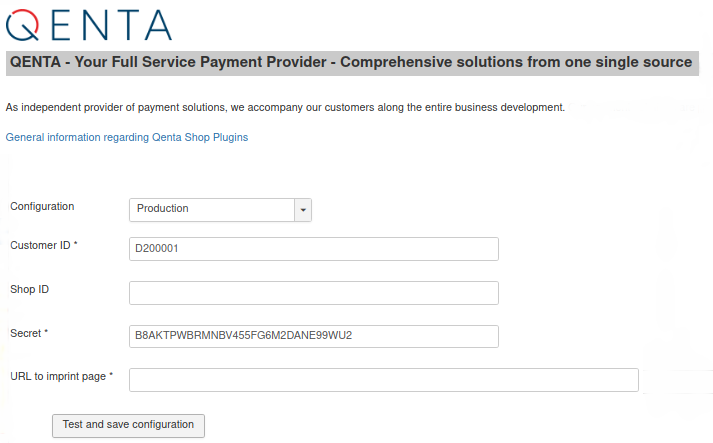
After pressing the Save button, configure the payment method. All required fields are marked with a *.
After the installation is finished the field birthday may be missing in Shopper Fields. This field is mandatory for the payment methods Invoice and Installment.
If it’s missing, go to VirtueMart > Configuration, select the Shopper Fields on the left and add this field.
To remove the Main Menu and the Login Form boxes on the front end of the online shop, navigate to Extensions > Modules and disable the two extensions.
| The option "Keep orders despite of failed payment" is not available for VirtueMart version >= 3.0.10 due to the new ACL system. |
Invoice and installment are only visible if the criteria defined in the contract concluded with the financial institution (e.g. payolution) are met. For more information check the payment method-specific documentation for invoice/installment provider payolution: Invoice and Installment.