WooCommerce: Installation Guide for Checkout Page
WooCommerce: Installation Guide for Checkout Page
The installation guide shows the step-by-step installation of the plugin to the installed shop system on a web server. Test the online shop and the plugin’s configuration on a test system before installing the plugin on a production system.
Step 1
Upload the link:https://github.com/hobex Service IT/woocommerce-qcp/releases[zip file,window=\"_blank\"] containing the Checkout Page plugin, using the Plugin management function of WordPress, or upload it directly to the wp-content/plugins directory of the WordPress installation.
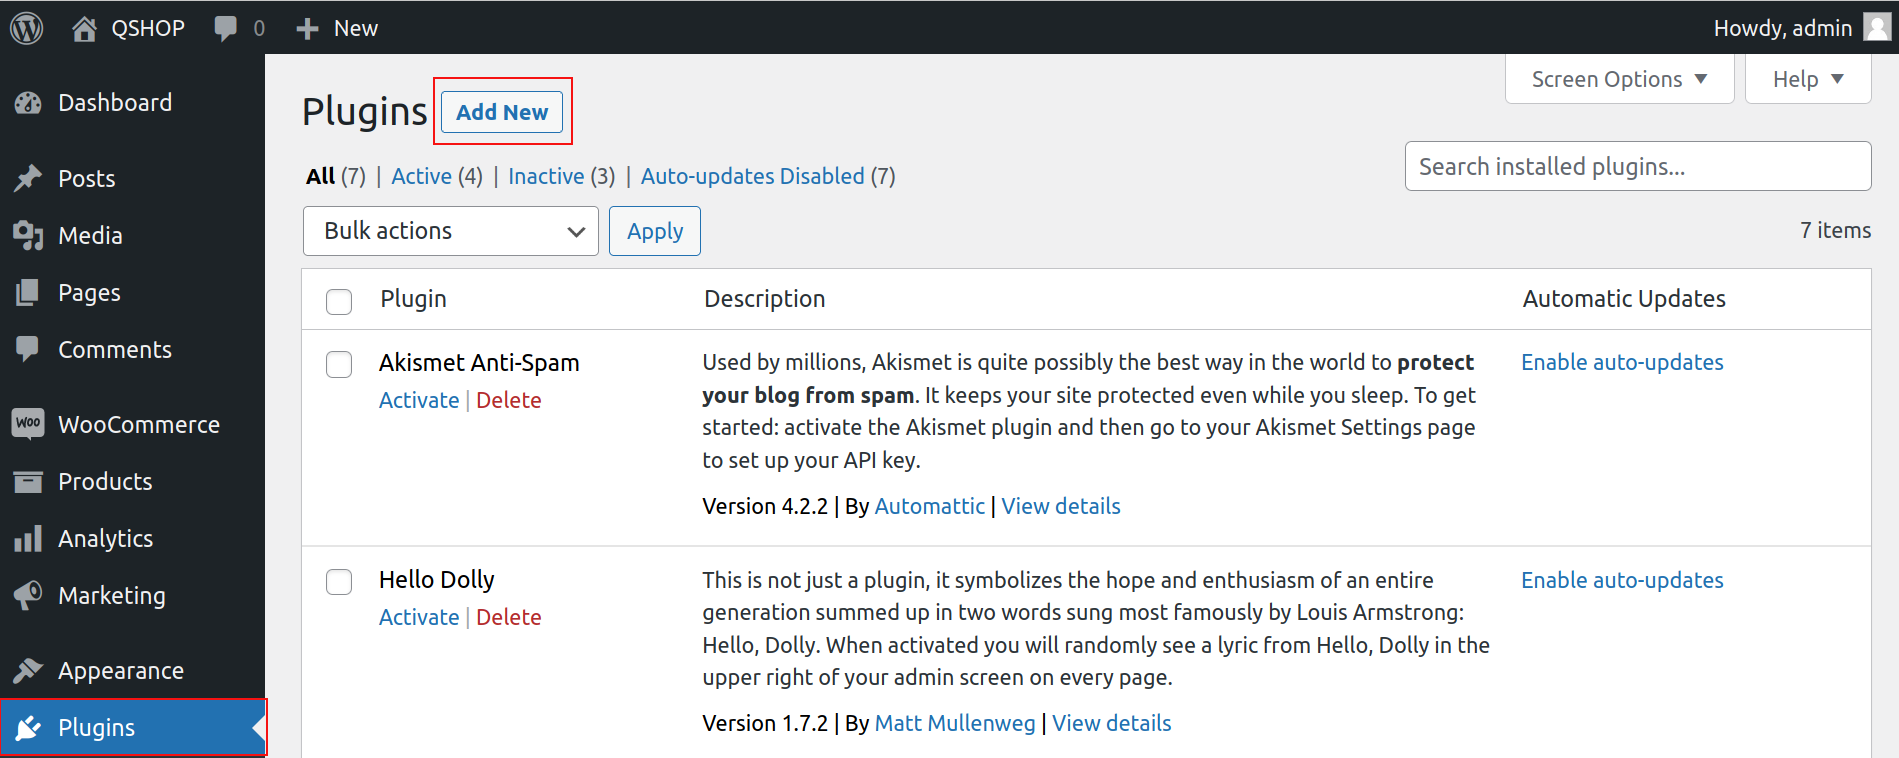

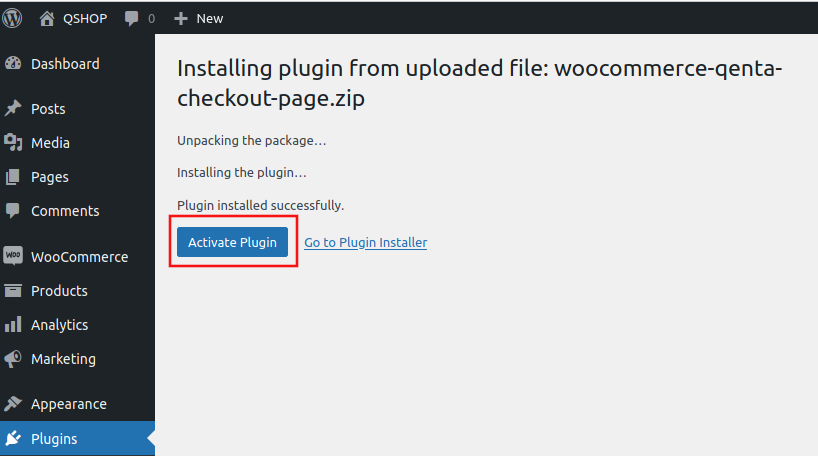
After installation, the plugin has to be activated, otherwise, it will not be available in WooCommerce.
| To receive a notification when a new version is published, subscribe here and select Releases only. |
Step 3
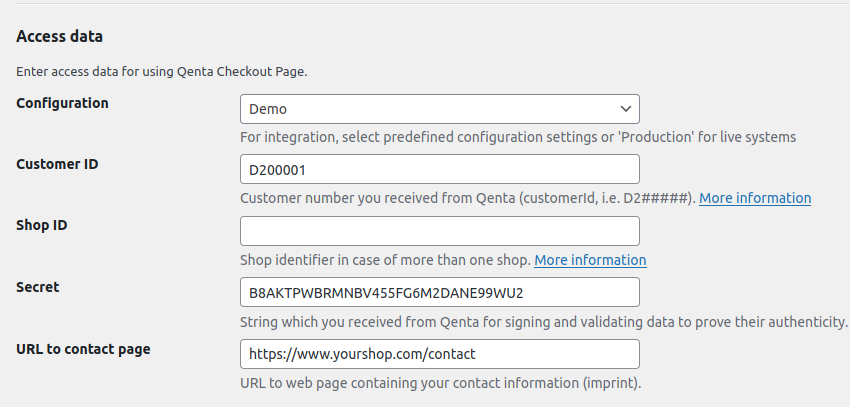
Set the customer ID, shop ID, and secret in the access data. It’s also important to set the URL to contact page e.g. the URL to imprint!
| Credentials inside fields are ignored if test 3D or demo configuration is chosen. |
It’s safe to deactivate or delete the plugin and then install it again because all the data will stay.


Step 4
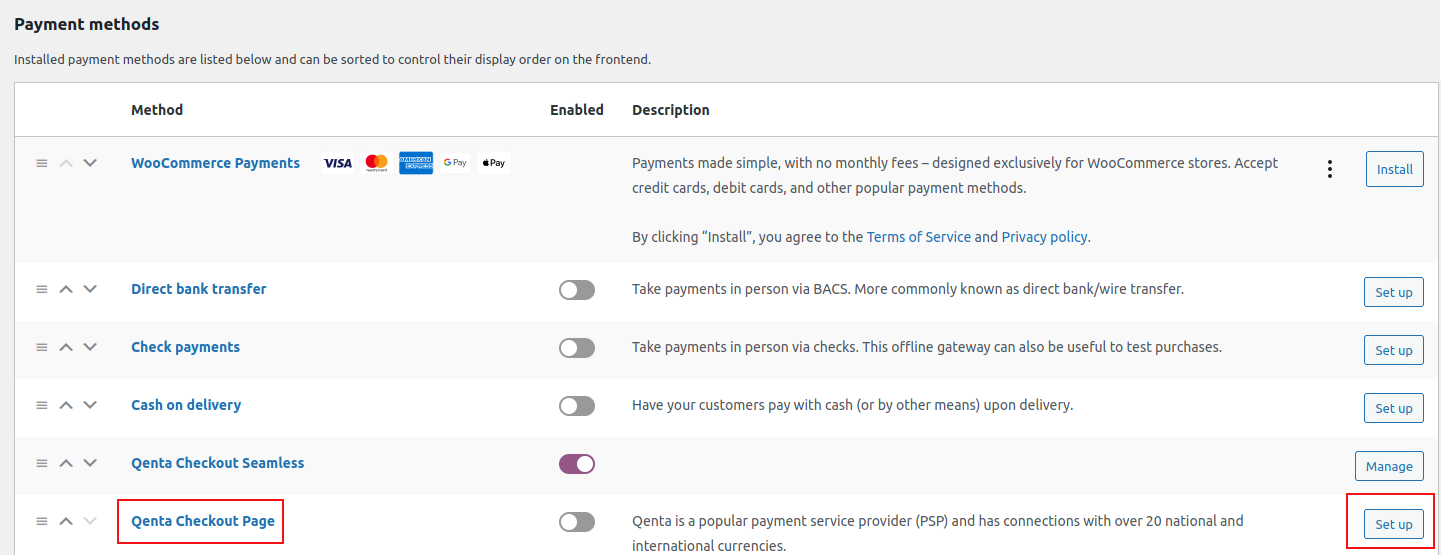
Verify that the Checkout Page payment method is displayed on the checkout page.
Invoice and installment are only visible if the criteria defined in a contract concluded with the financial institution (e.g. payolution) are met. For more information check the payment method-specific documentation for invoice/installment provider payolution: Invoice and Installment.